ELIGO + STRAWBERRY CHEESECAKE
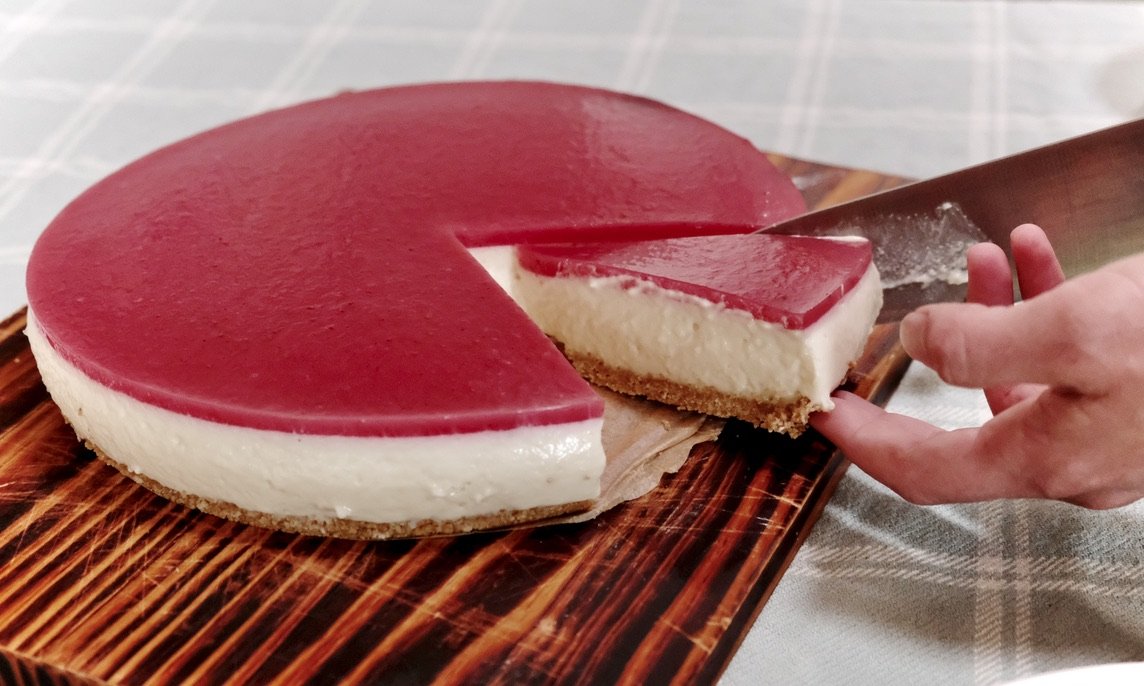
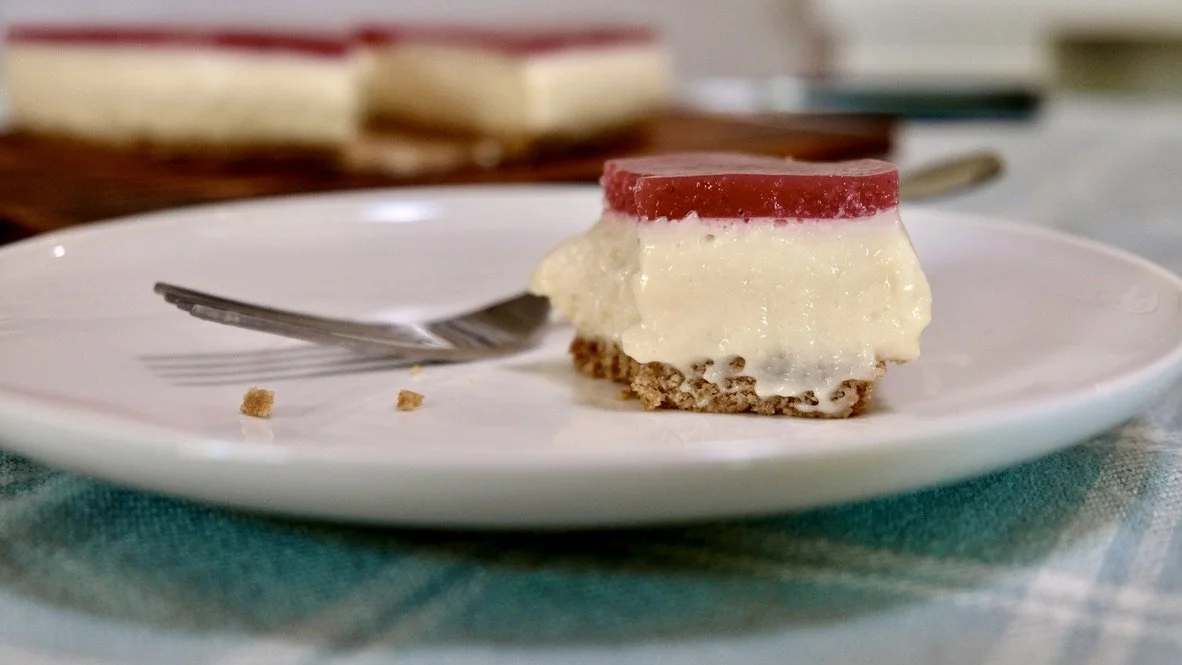
Eligo’s clean, milky flavors shine through in this silky no-bake cheesecake.
Honey adds a floral sweetness that balances Eligo's earthy and tangy notes with the richness of this decadent dessert.
At first glance, the recipe looks complicated, but once you have each component prepped, it all comes together quite easily. The hardest part is waiting for the cheesecake to set so that you can eat it!
You’ll start by making a 2-ingredient graham cracker crust. Next, you’ll make your base filling which requires just three ingredients.
Once that’s mixed, you’ll make a melty Eligo mixture to add to your base. Then, to make sure your cheesecake firms up, you’ll heat up some cream with agar-agar — your final mix-in.
We decided to finish our cheesecake with a strawberry jelly topping, but you could save yourself a bit of time and effort by drizzling a simple sauce over slices as you serve them. To be honest, this dessert is pretty dang delicious unadorned, but it’s hard to resist strawberry season!
EQUIPMENT:
Food processor (for crushing the graham crackers), or:
A sealable plastic bag and a rolling pin
Stand mixer with whisk attachment, or:
A large bowl and handheld beaters
You can mix the filling by hand, but it’s a little tiresome!
A medium pot and a glass or metal bowl that rests on top of it, to serve as a double-boiler
A small, heavy-bottomed saucepan
9-10” springform pan (if you’d like to be able to remove the whole cake for slicing), or:
A regular baking dish, which you can serve the cake out of like a pie
Rubber spatula
Whisk
Potato masher
Fine mesh strainer
INGREDIENTS
For the crust:
200g graham crackers
80g salted butter, melted
For the filling:
A little oil, for greasing your pan
8-oz package (~225g) softened cream cheese, cut into approx. 1” pieces
100g honey
14-oz can (~300mL) sweetened condensed milk
200mL heavy cream
240g Eligo, rind removed, cut into approx. ½” pieces
3 teaspoons Agar Agar powder
For the strawberry topping:
16 oz fresh strawberries, roughly chopped
3 tablespoons sugar
1 tablespoon lemon juice
½ cup water
1 teaspoon Agar Agar powder
INSTRUCTIONS:
Prepare your pan and make the crust:
Use a little oil to grease the bottom and sides of your springform pan or cake dish. If using a springform pan, line the bottom with parchment paper for easy removal.
Pulverize the graham crackers in a food processor, or place them in a sealed plastic bag and use a rolling pin to crush them into fine crumbs. In a medium bowl using a rubber spatula, mix the crumbs and melted butter together until thoroughly and evenly combined — it should look like wet sand.
Spread the mixture evenly across just the bottom of your pan, then press it firmly into place with your fingers or the bottom of a glass. Refrigerate while you prepare the filling.
Prepare the filling:
There are three basic components to the cheesecake: the base mixture, the hot cheese mixture, and then the cream + agar mixture. Each individual component is quite simple, but the timing for mixing them together is important, so read carefully before proceeding:
Prep your double boiler — add a few inches of water to the pot, top with your metal or glass bowl, and bring to a boil. The bottom of the bowl should not touch the water.
Meanwhile, make your base filling:
Put the softened cream cheese and the honey into your stand mixer and cream together, starting with a lower speed and working up to high, until completely smooth. Turn down to medium speed and pour in the sweetened condensed milk, mixing until thoroughly combined.Next, use your double-boiler to make the hot cheese mixture:
Add the Eligo cubes and just 50mL of the heavy cream to the bowl on top. Stir constantly until the cheese really starts to melt, then whisk until the mixture is smooth. It should be the texture of fondue. Turn off the double-boiler.How to add the hot cheese to your base filling:
You’ll need to move quickly, while the cheese is still molten — with your mixer already running on medium speed, pour the hot cheese mixture into the base filling and continue to mix until smooth and thoroughly incorporated.Finally, make the cream + agar mixture:
Stir your Agar-Agar into ¼ cup of water and set aside. Pour the remaining heavy cream (150mL) into the small, heavy-bottomed saucepan and bring to a simmer over medium heat. Add the Agar-water mixture to the simmering cream and bring up to a gentle boil. It will thicken pretty quickly; as soon as it begins to do so, mix it into the rest of your filling the same way you did with the hot cheese — move quickly, and pour it in while the mixer is running to make sure it is incorporated quickly and thoroughly.While that’s mixing for a moment, take your pan with the graham cracker crust out of the fridge. Turn off your mixer and immediately pour the filling into the pan. Refrigerate right away — it will need at least 3 hours to firm up enough to pour on the strawberry topping. Once glazed, the cake will need to continue to firm up before it is sliceable.
Make the strawberry topping:
Once your cheesecake has chilled for about 3 hours, it should be firm enough to glaze. When you gently prod the top of the cake, there should be some resistance. If it is too soft, the glaze will sink into the cake.
Combine the chopped strawberries, sugar, lemon juice, and water in a small saucepan. Bring to a boil, stirring, until the strawberries are soft. Use a potato masher to squeeze as much juice as you can out of those strawberry bits!
Pour the mashed strawberry mixture into a fine-mesh strainer placed over a bowl. Stir the mixture and use a spoon or rubber spatula to move it back and forth across the surface until you’ve extracted as much liquid as you can.
Pour the strained strawberry juice back into your sauce pot. Stir in the agar-agar and bring the mixture to a boil. Remove from heat, and take your chilled cheesecake out of the fridge. Once again, you’ll need to move quickly…
To glaze your cake evenly: in one hand, hold a rubber spatula horizontally, a couple of inches above the cake. With your other hand, pour the glaze onto the flat surface of the spatula, creating a gentle ‘waterfall’ effect; work your way across the surface of the cake to evenly distribute.
Return the glazed cake to the refrigerator until firm enough to slice — at least another couple of hours; overnight if you can stand it!


